What is Underground Drainage?
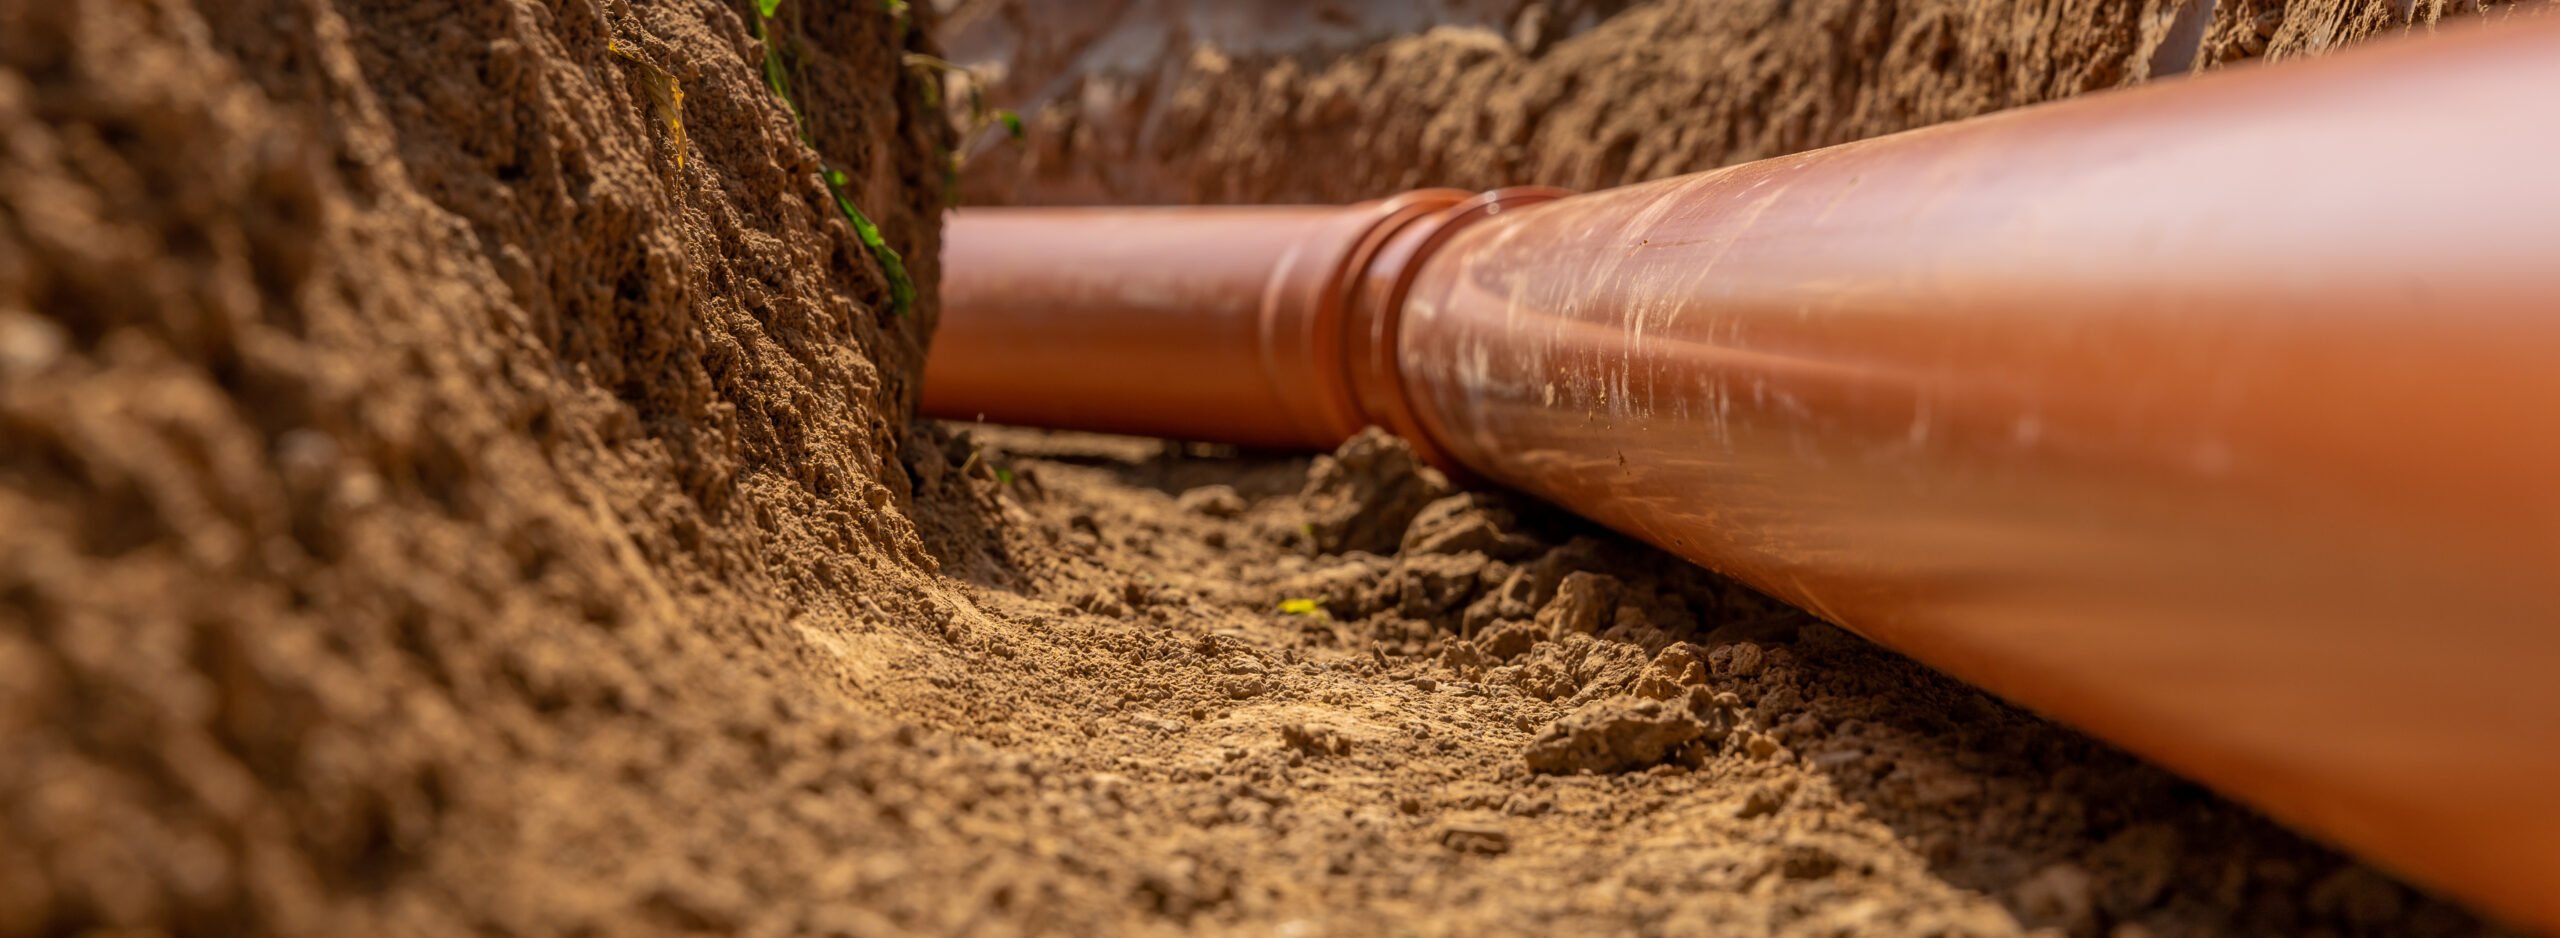
Well, as the name implies, underground drainage refers to the drainage system located beneath the surface. It typically consists of various lengths of pipes and fittings such as bends, junctions, and other components designed to either change the direction of the pipes or adapt to other systems. Underground drainage is primarily associated with the sewage system, mainly used to transport wastewater (gray water) or sewage directly to a sewage treatment facility. Additionally, this system can be utilized for rainwater drainage into soakaway systems or watercourses.
These days, most systems are made from PVC due to its lightweight yet durable nature, which ensures longevity and cost-effectiveness compared to clay or concrete. Its light weight makes installation easier and almost maintenance-free. The smooth inner walls enhance the flow of wastewater, and PVC actually offers a better "flow rate" than clay or concrete.
Identifying an underground drainage system is straightforward; it's usually terracotta in color, which is the industry standard for this system. Interestingly, soil pipes and fittings are nearly identical, made using the same machinery. The only difference is their color—black, white, or gray—and they contain a UV additive to prevent sun-induced discoloration.
How do you install underground drainage?
First, trenches need to be dug to the appropriate "fall" (to utilize gravity for moving wastewater) and then filled with pea shingle (usually 10mm or 20mm) to protect the pipework. It should also be laid out in a way that allows for rodding, testing, cleaning, and inspecting the system.
An underground drainage installation is usually planned by a drainage engineer with detailed architectural plans, but for smaller projects, the system is simple enough to be installed by a groundworker or general builder, provided it meets the requirements of Approved Document H – Drainage and Waste Disposal.
The fittings and pipework themselves are very easy to join. They are almost always a "push fit" system, where the pipes come with sockets that include a rubber seal, and the fittings come with either a spigot (which fits into the socket of another fitting or pipe) or a socket (which accepts a spigot).
Â
How do I cut and join the pipework?
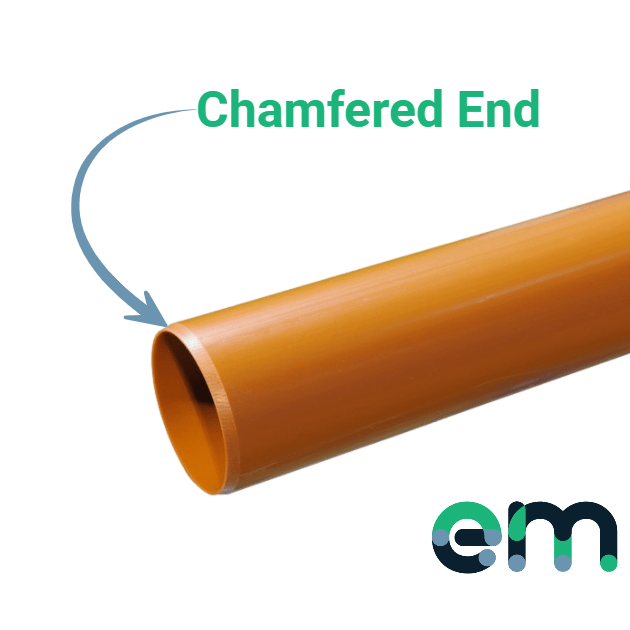
The pipe itself is super easy to cut with either a hacksaw or fine-toothed saw, leaving the end rough or sharp. If left this way, pushing the cut end into a socket could damage the seal and cause a leak, which is definitely not ideal, especially with foul water!
To prevent this, the pipe should be chamfered correctly using a chamfer tool that smooths the end. Then, the seal in the socket should be lubricated using proper pipe lubricant. Afterward, ensure the pipe is located next to the socket and firmly push it in until it stops, then pull back 10mm to allow for movement and expansion. That’s it – joint complete! Much simpler than working with clay or concrete systems!
How to lay the underground pipes?
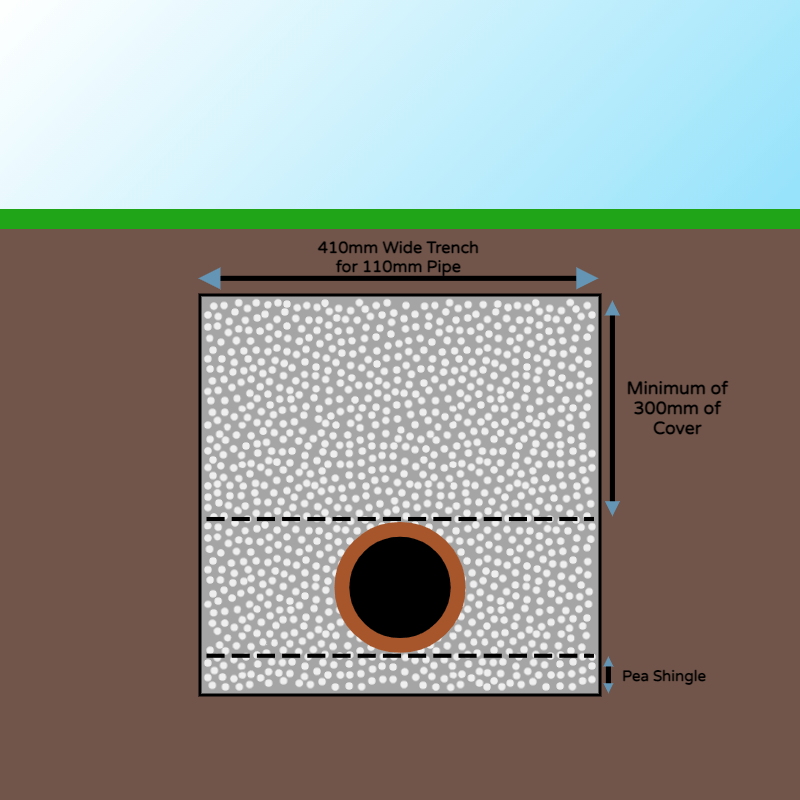
Best practice involves digging the trench and laying pea shingle (10mm / 20mm) at the bottom, then laying the drainage pipe over it. Use more pea shingle for backfill and side fill so that the pipe is surrounded in the trench. This protects and supports the pipework while allowing for expansion and natural ground movement. The trench should be 410mm wide if using 110mm drainage pipe or 460mm wide if using 160mm drainage pipe. The trench should always be 300mm wider than the pipe being laid. Using the dug soil as side and backfill is possible but it needs to be screened for large stones or rocks and won't be as protective as pea shingle.
When burying the pipework, a minimum of 300mm of cover should be placed over the top to prevent damage during soil compaction.
In areas where the pipework is likely to be dug up again in the future, it’s good practice to lay a paving slab over the top so that any spade or shovel hits this first and protects the pipe. Warning tapes labeled "Caution: Sewer Pipe Below" can also be purchased to alert anyone digging that there are pipes buried underneath.
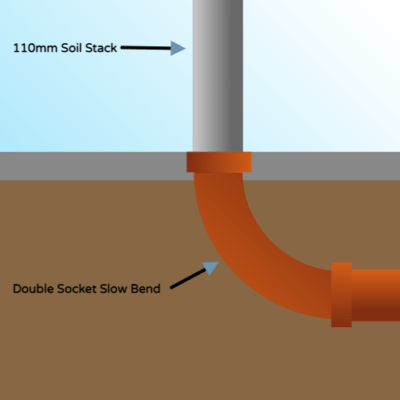
How does it connect to the above ground system?
As mentioned earlier, the soil pipe systems (the 110mm black, white, or grey pipes running down the side of the house into the underground system) are almost identical, even made from the same machines, so the cutting and joining process is exactly the same and usually doesn’t require specialized adapters.
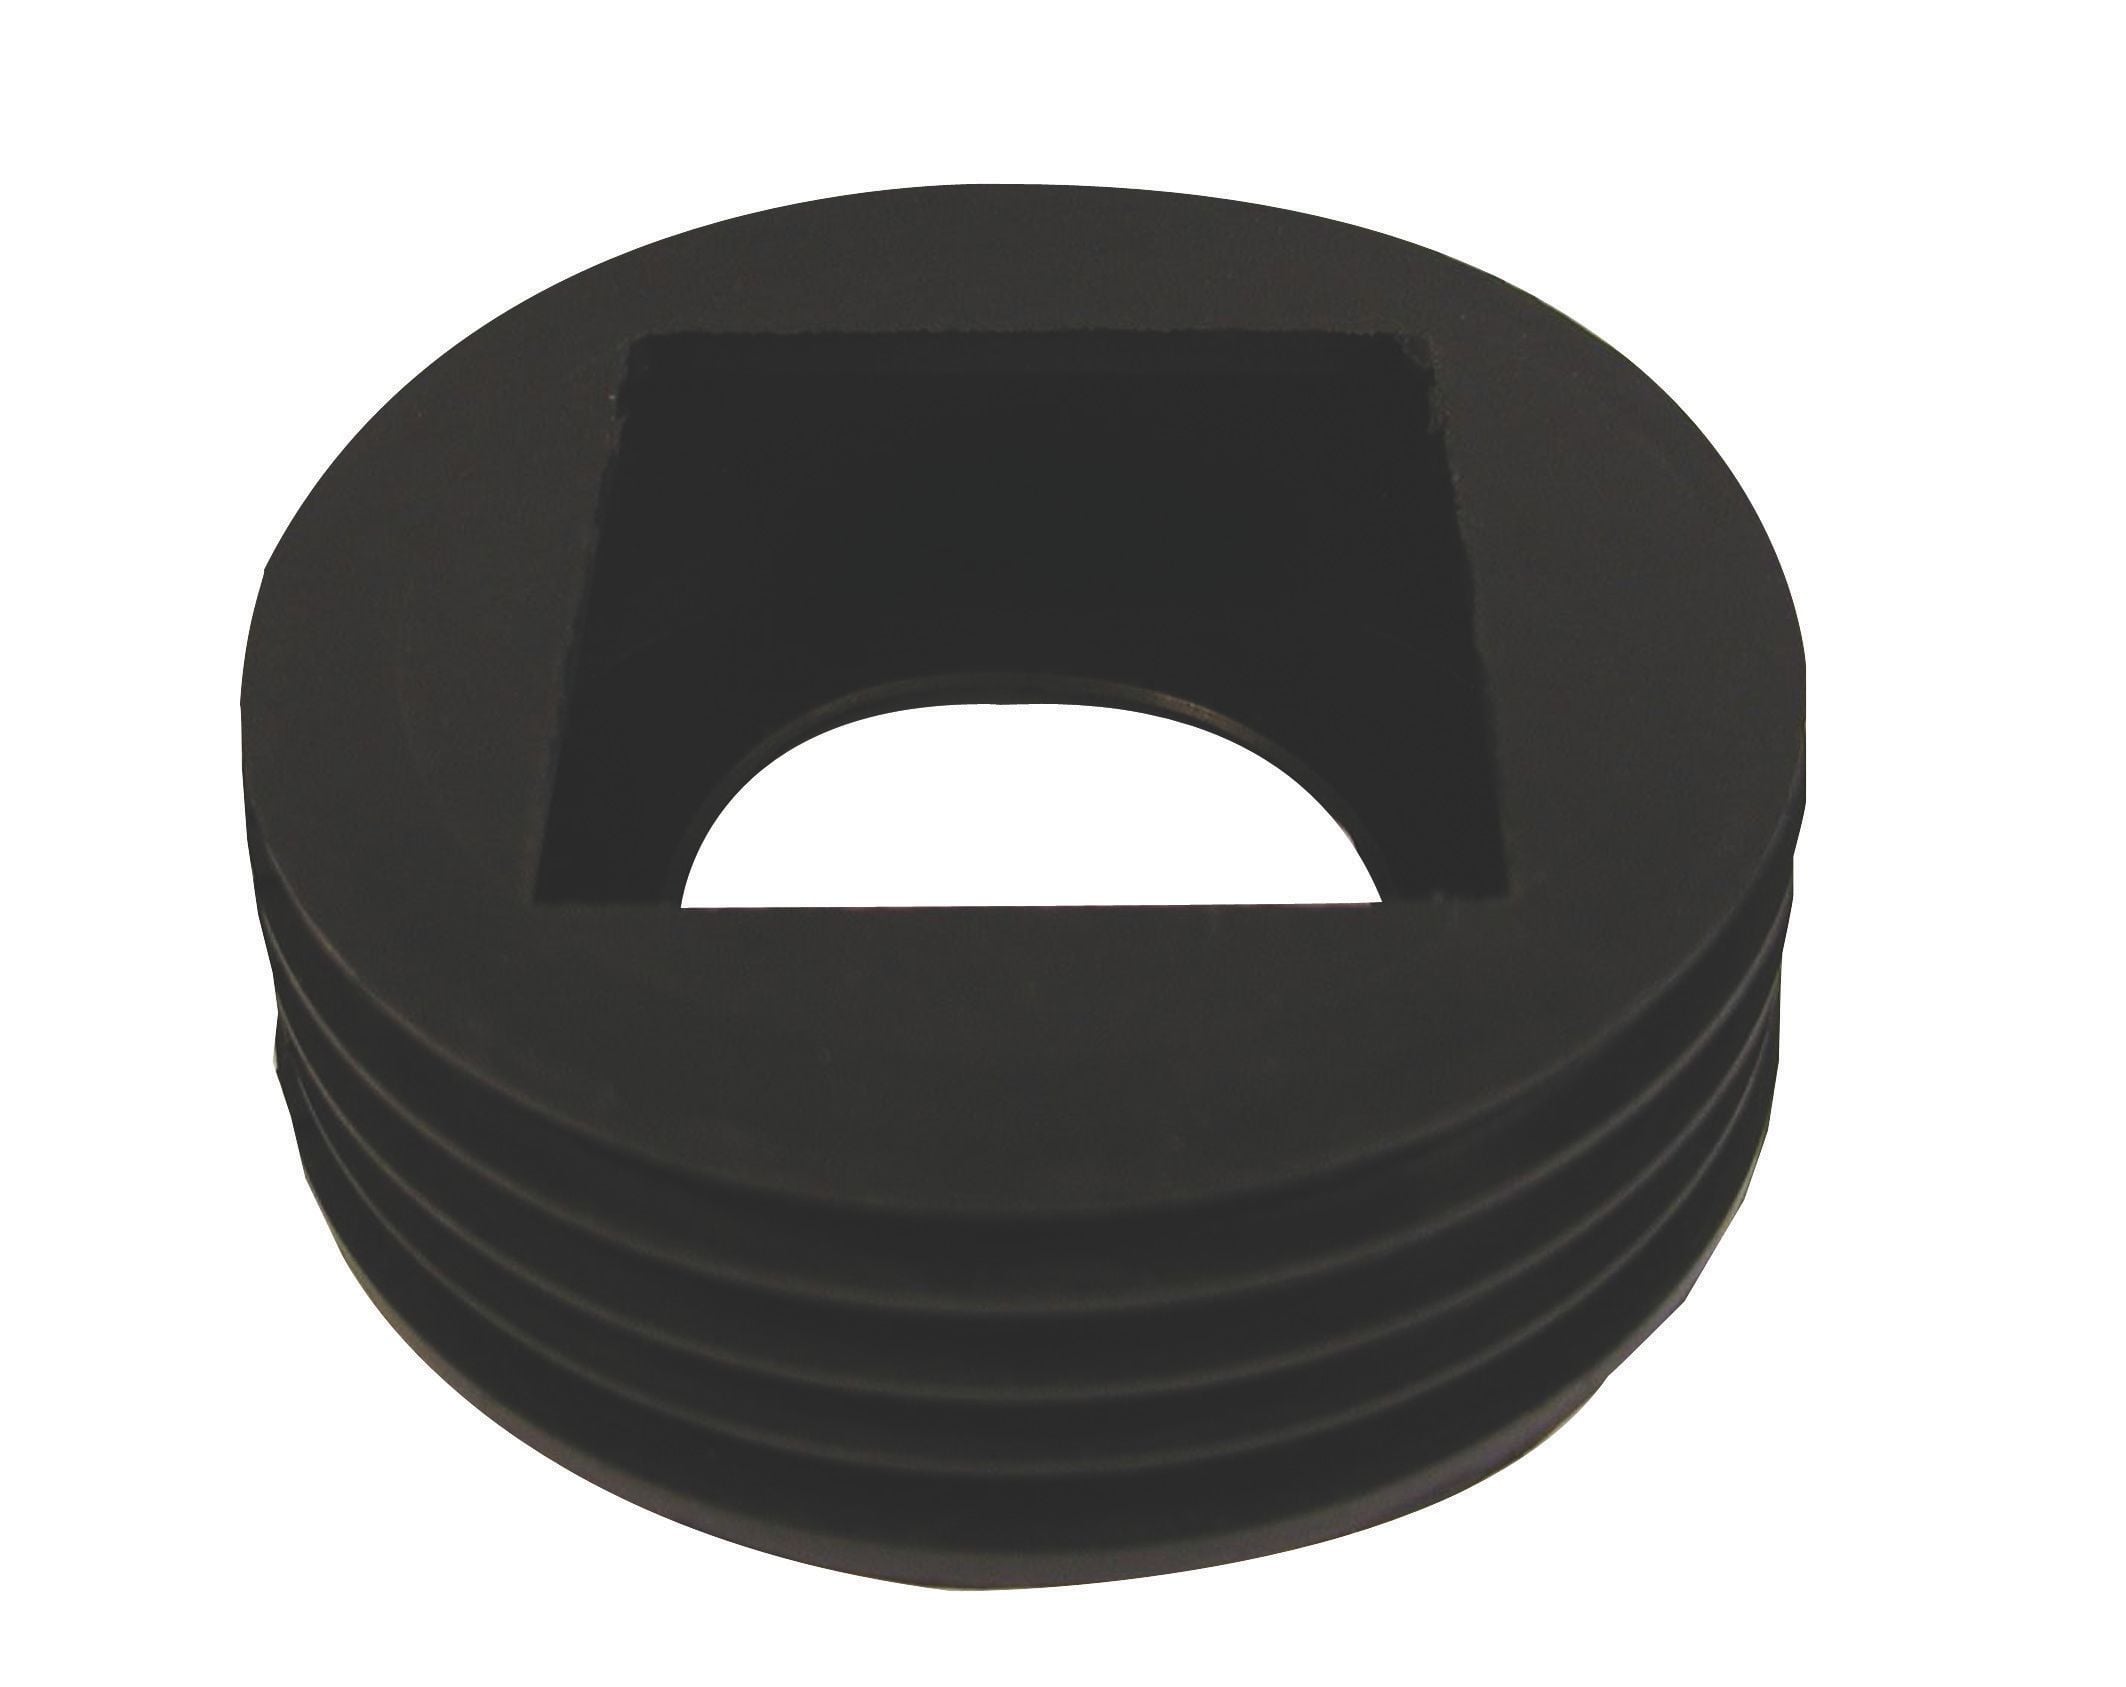
Rainwater pipes or waste pipes, however, are slightly different sizes. For rainwater downpipes, a rubber rainwater adaptor is needed. Simply push this into the 110mm underground pipe, then push the downpipe into it. The same adapter can be used for waste pipe systems, though waste pipe systems are typically connected to the 110mm soil pipe further up the run. Other colored PVC adapters are available to match the downpipe.
What fittings are commonly used in the underground drainage system?
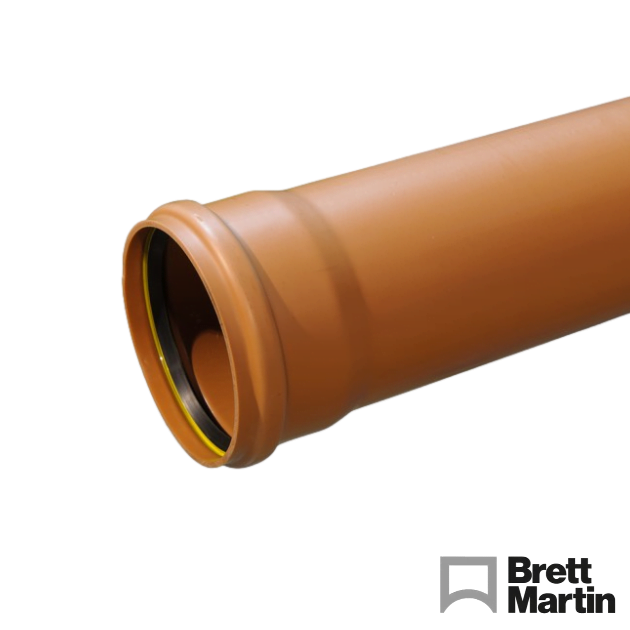
- Underground Drainage Pipe – These come in 3m or 6m lengths and often include a socket on the end for easier connection of multiple pipes without needing additional couplers or joiners.
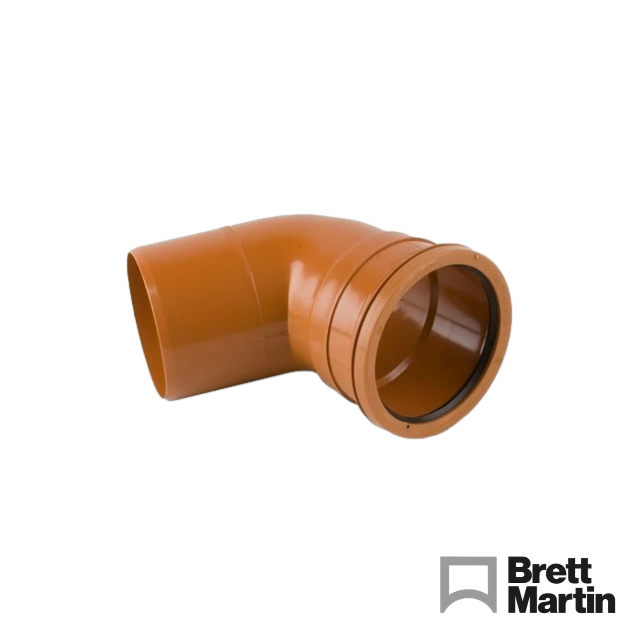
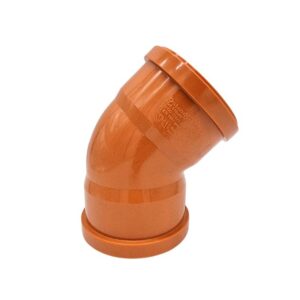
- Drainage Pipe Bends – Used to change the direction of the pipe run. They come in various degrees from 11.25 to 90. Available with either one socket (single socket) or double socket. Adjustable bends are also available for tricky angles or convenience.
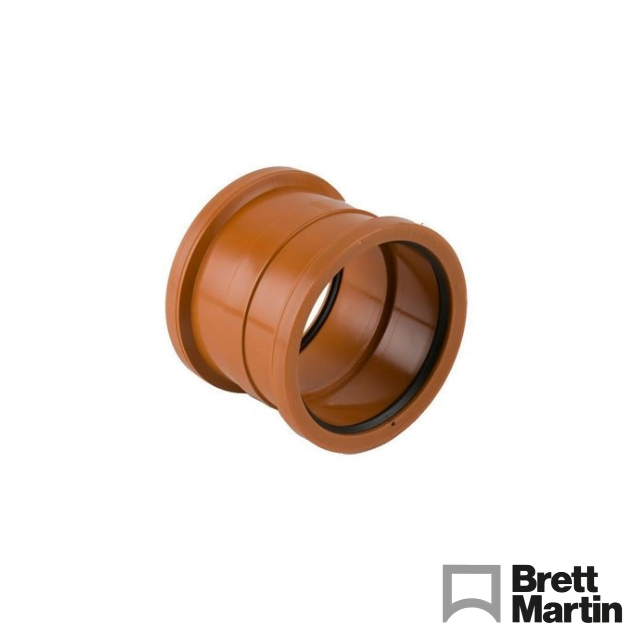
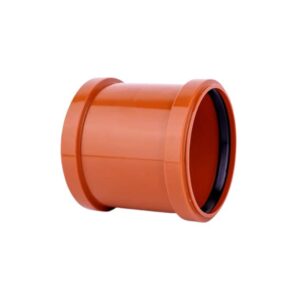
- Drainage Pipe Couplers – Also known as joiners, these join two lengths of pipe together. Single socket ones are available for adapting to solvent systems, or slip couplers can be used.
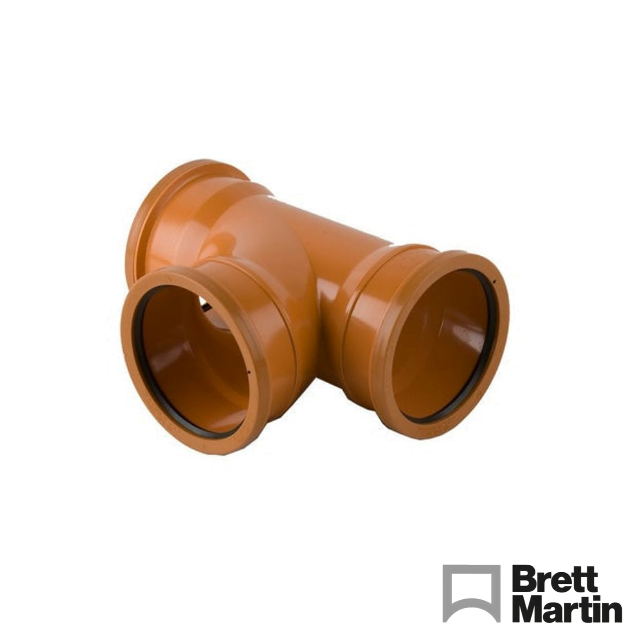
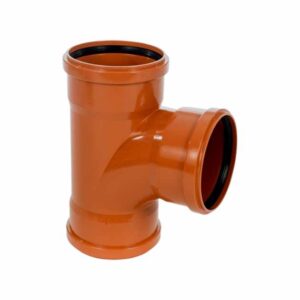
- Drainage Pipe Junctions – Allow the pipe run to split into two different runs or join two different runs into one. Available as T junctions (90-degree turns) or Y junctions (45-degree turns). Double or triple socket versions are available.
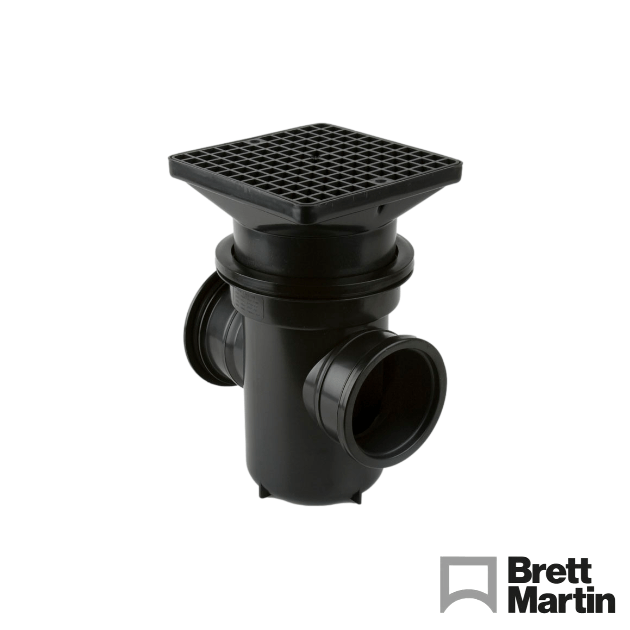
- Bottle Gullies – Have a grill on top to accept rainwater downpipes or waste pipes. Built-in traps prevent smells and gases from entering the building from the underground drainage system.
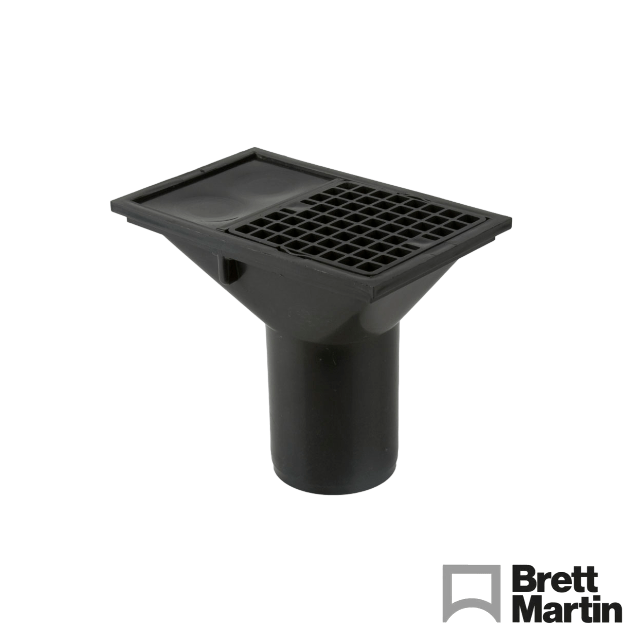
- Underground Drainage Hoppers – Similar to gullies, these allow downpipes or waste pipes into the underground drainage system. However, they do not come with a trap built in.
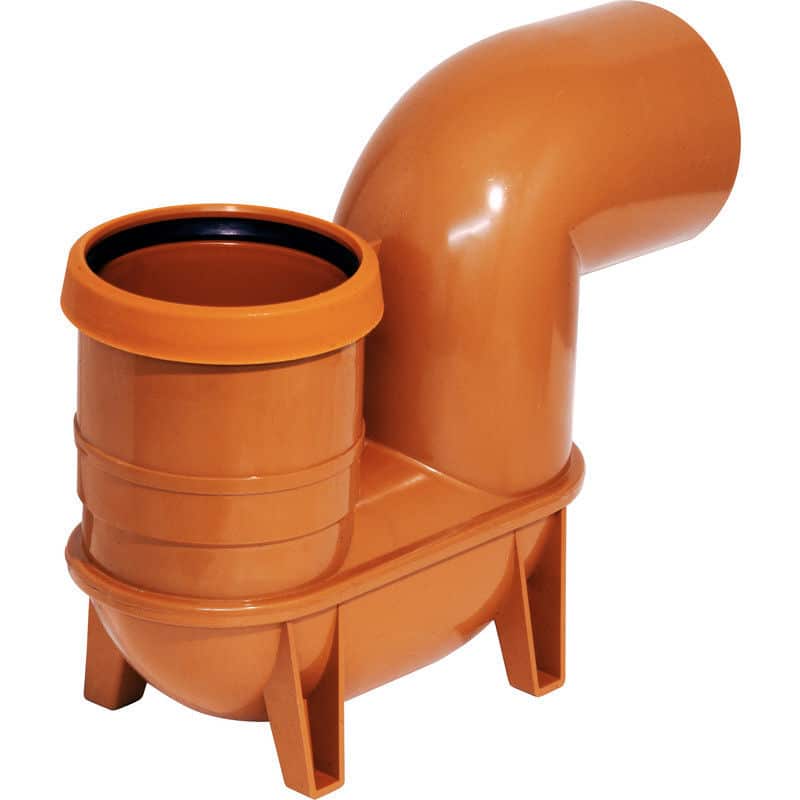
- Lowback P Traps – Usually installed using one of the hoppers above to form the trap which stops foul-smelling gases from entering the property.
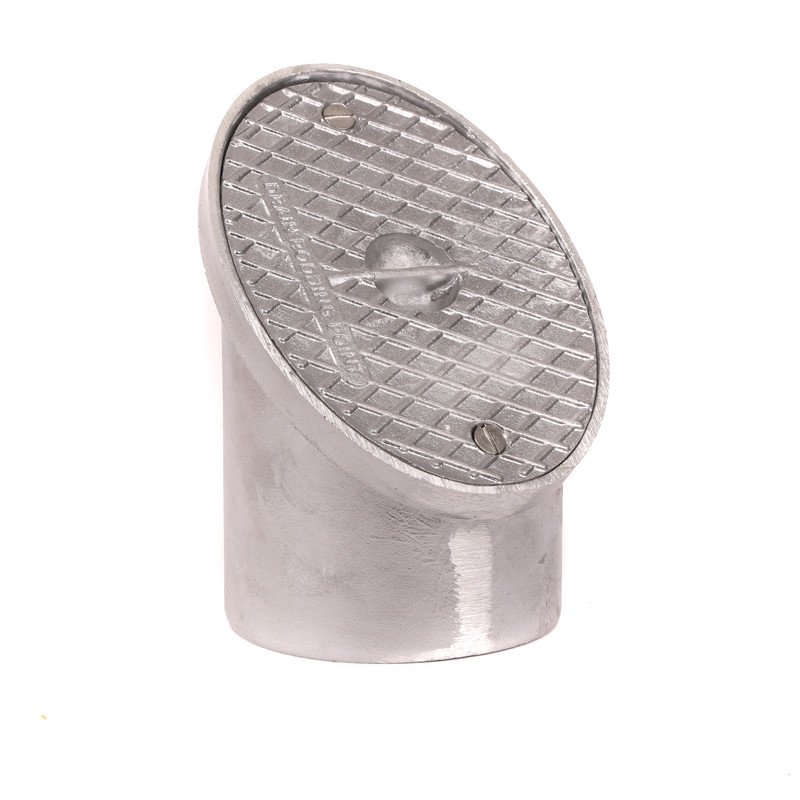
- Rodding Eyes – Installed to allow rodding of the system in case of blockages.
- Universal Rainwater Adaptors – Rubber adapters that allow connection from a rainwater downpipe to the underground system.
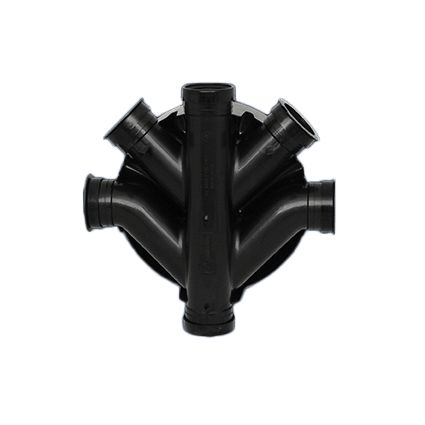
- Manhole Bases, Risers, and Lids – Manhole bases allow connections from the property, or multiple properties, to combine into one run to go into the main sewage system. Usually installed at the end of a driveway before going into the road.
Invert levels and falls in underground drainage:
Typically, 110mm drainage pipe is laid to a fall of a minimum of 1 in 40. This is usual for installations of 5 houses or less. This ensures sufficient flow to carry waste and water quickly enough along the pipe to minimize the risk of blockages. The same rule applies regardless of the manufacturer or brand of the system. More details can be found in the Approved Document H – Drainage and Waste Disposal document, but if in doubt, consult a drainage engineer or your local authority.
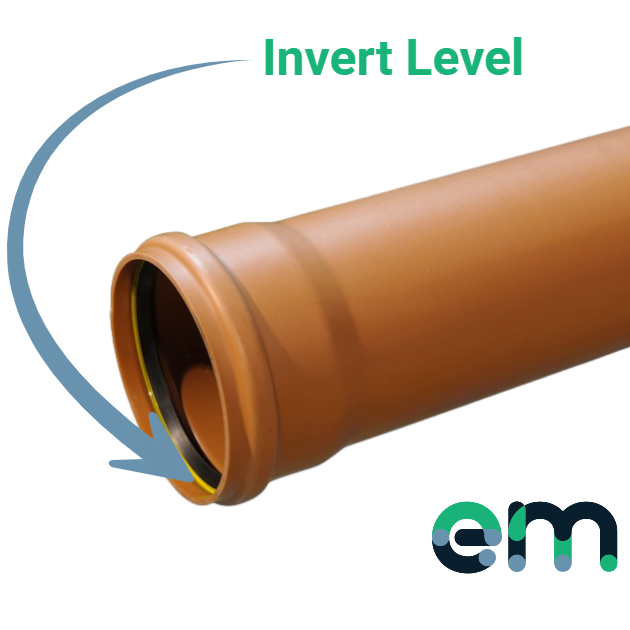
What does invert level mean?
The "invert level" simply refers to the level of the bottom of the drainage pipe or manhole base outlet. It’s the level at which the water will run. When reviewing an architect or drainage engineer’s drawings or plans, they’ll usually mention the invert level as well as the cover levels. The invert level is the lowest point within the inside of the pipe, where the water would run.
The cover level simply means the ground level when finished, a good way to remember this is where the manhole cover would go. An invert depth calculation is done by taking these two measurements from the drawings and subtracting the invert level from the cover level. For example, if the cover level is 50 and the invert level is 45, the answer would be 5. (50 – 45 = 5). These calculations and measurements are integral parts of the design and proper functioning of the drainage system.
What are the falls and gradients for underground drainage?
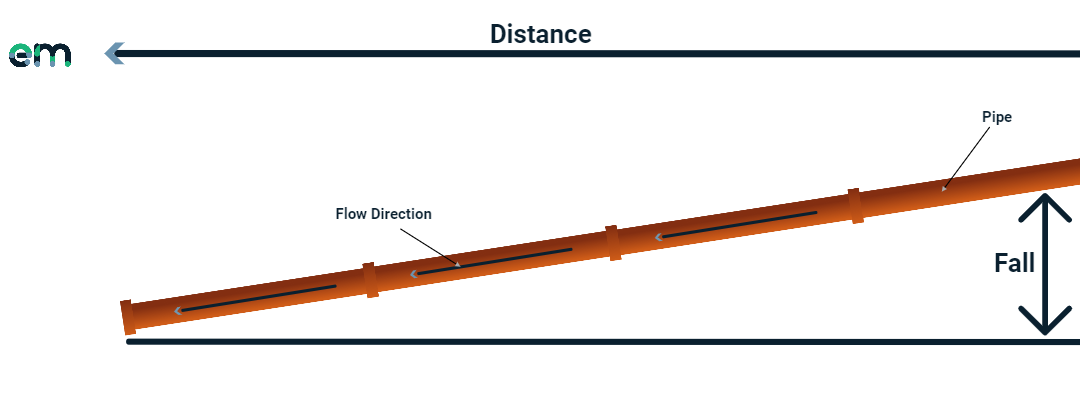
The fall simply means the slope of the pipe. The pipe system needs to be sloped, or have a fall, to allow gravity to move the waste along the pipe. In technical terms, the fall of the pipe represents the angle and distance that the pipe drops vertically along its horizontal length. A calculation will need to be done to determine the correct fall to provide adequate flow rates and ensure that any solids or waste do not cause a blockage and that they travel along the pipe quickly enough. The fall simply means the amount the pipe will drop vertically from the start to the end point of the pipe run.
A common fall would be 1 in 40, a "1 in 40 fall" meaning that for every 40 units of pipe length, it will fall by one unit. So for a 40-meter run of pipe, the end of the pipe run would be 1 meter lower than the start of the run. It doesn’t matter which unit of measurement is used, whether meters, centimeters, inches, or whatever—the scale and effect remain the same.
Sometimes the fall is referred to as "the gradient" (though less frequently these days). When calculating a gradient, the calculation is slightly different. You’d need to divide the vertical fall by the horizontal length of the pipe run. So in our 1 in 40 example, the calculation would be (1 divided by 40) giving a gradient of 0.025. See the picture below for reference.
The gradient equals the fall distance
For example, in a 24-meter section of drainage pipe, if you had a fall of 0.30 meters and were asked to calculate the gradient:
- Gradient = 0.30 divided by 24
- Gradient = 0.0125
This can be converted into a gradient written as a ratio or 1
- Gradient = 1 / 0.0125 = 80
- Fall = 1 in 80
The above formula may be rearranged for Fall if the Gradient is known:
The fall is the gradient x the fall distance
For example, calculate the fall in a 50-meter section of foul water pipework if the gradient is to be 1 in 80. A gradient of 1 in 80 is converted to a number instead of a ratio.
1 / 80 = 0.0125
Fall = Gradient x Distance
Fall = 0.0125 x 50
Fall = 0.625 meters or 625mm.
Adapting to other materials
PVC drainage can be adapted to clay or cast iron drainage pipes using rubber pipe connectors featuring a jubilee clip to tighten and adapt to pipes with different wall thicknesses.
How and when to test the drains?
Although it depends on the local approving authority, you can refer to the Approved Document H – Drainage and Waste Disposal for guidance.
What is an OD / ID?
This refers to the outside diameter and inside diameter of the pipe. If connecting or adapting onto the pipe, the OD will be the measurement you'd need to use. To calculate flow rates, the ID is used. The outside diameter minus the inside diameter gives you the wall thickness of the pipe. The inside diameter gives you the amount of space within the pipe. The outside diameter tells you how wide the pipe is overall so that you know the size of the hole you need to drill, etc.
Can I buy this stuff from EasyMerchant?
Yes, and you won’t find it at a better price anywhere else! We buy in bulk quantities of this stuff because we can, and thanks to the quantities we buy, we get large discounts, enabling us to sell these items to you at the same price a national large contractor would pay. Take a look through our underground drainage range here. We offer two brands: Brett Martin, which is a well-known brand for those who want or need it, and an eco-friendly brand that’s good enough to do the job but at a more affordable price.
As always, thank you for reading our guide here at EasyMerchant. If you have any further questions about underground drainage installation, you can call me on 01371 850 120, or email at [email].
Author Bio
Nathan Wilde

Nathan has been in the drainage and plastics industry for over 12 years. Having worked for both builders' merchants and major manufacturers, Nathan has gained significant industry and product knowledge. Now at EasyMerchant, Nathan has dedicated himself to making tradespeople's lives easier.
Shop Underground Drainage
110mm Drainage Pipe Fittings

110mm 3m Single Socket Underground Drainage Pipe
110mm Drainage Pipe Coupler
110mm Underground Drainage Pipe Junction